
Telegram has a built-in Welcome Message for groups and channels. It is a short greeting that only the person who joins sees. Other members do not see it in the chat.
Use it to show a new member where to begin. A third-party bot is not needed for this basic job.
Use the right welcome at each moment
| What the person needs | Use this | When they see it |
|---|---|---|
| Understand what your membership bot is for | Its BotFather Description | Before they press Start |
| Understand a paid project and its plans | The InviteMember project description | On the membership page |
| Know where to begin in a group or channel | A native Welcome Message | When they join the chat |
| Find rules or a guide again later | A pinned message | When they open the chat |
| Ask a private account question | A support bot | When they message the bot |
The native Welcome Message belongs to the group or channel. Use it for the first action after entry, not for the full sales explanation or payment steps.
Set up a Telegram Welcome Message
- Open the group or channel you manage. Tap or click its name in the top bar. This opens the chat profile.
- Enter the chat editor. In the profile, tap or click the pencil Edit control. This opens the screen that contains the chat settings.
- Create the greeting. Select Welcome Message. On a chat that has no greeting yet, select Create a Welcome Message when Telegram shows that option.
- Send the first item. Type the greeting in the Welcome Message composer and press Send. That sent item is shown to a person who joins later.
- Add another message or media. To add text, type the next message in the same composer and press Send. To add a photo or video, use the attachment control, choose the media, and press Send.
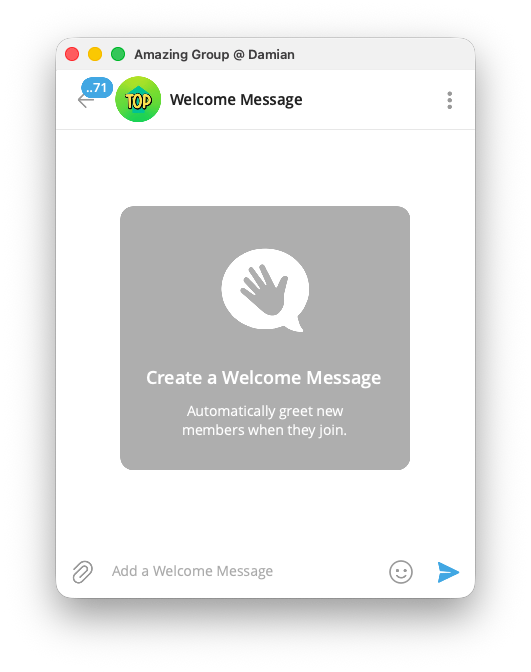
If Welcome Message is not available, update Telegram and open the chat profile again. An owner can also check whether an administrator has the Manage Welcome Messages permission.
Make the greeting useful
Give a new member only the information they need now:
- What is this chat? State what members receive here.
- What should they do first? Point to one place, such as the pinned guide, the right Topic, or the posting rules.
- Where can they get help? Give one clear route if they get stuck.
For example: "Start with the pinned Week 1 guide. Use the Questions topic for lessons. For account help, message our support bot."
Keep the detailed rules and reference material in a pinned message, a Topic, or a linked page. The Welcome Message should get people moving, not make them read everything at once.
Welcome people into a paid project
A paid project needs one short explanation before payment and a different one after access is granted. Set each part where the person meets it.
1. Set the public bot profile in BotFather
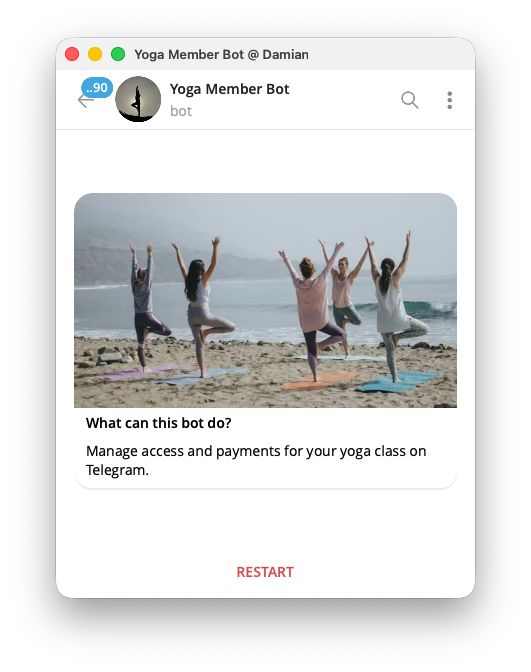
Open @BotFather and send /setdescription. Choose the membership bot, then send the text that introduces the paid offer. The Description appears before a person presses Start in the "What can this bot do?" box.
Run /setabouttext to set a shorter reminder on the bot profile and in shared bot links. Run /setuserpic to upload the profile picture. Use the Description to say who the membership is for and that starting the bot lets people view the available plans.
BotFather also has Edit Description Picture for an optional photo or video above the Description. This is separate from the bot's profile picture. Add it only when a visual helps people recognize the offer before they start the bot.
2. Describe the paid project in InviteMember
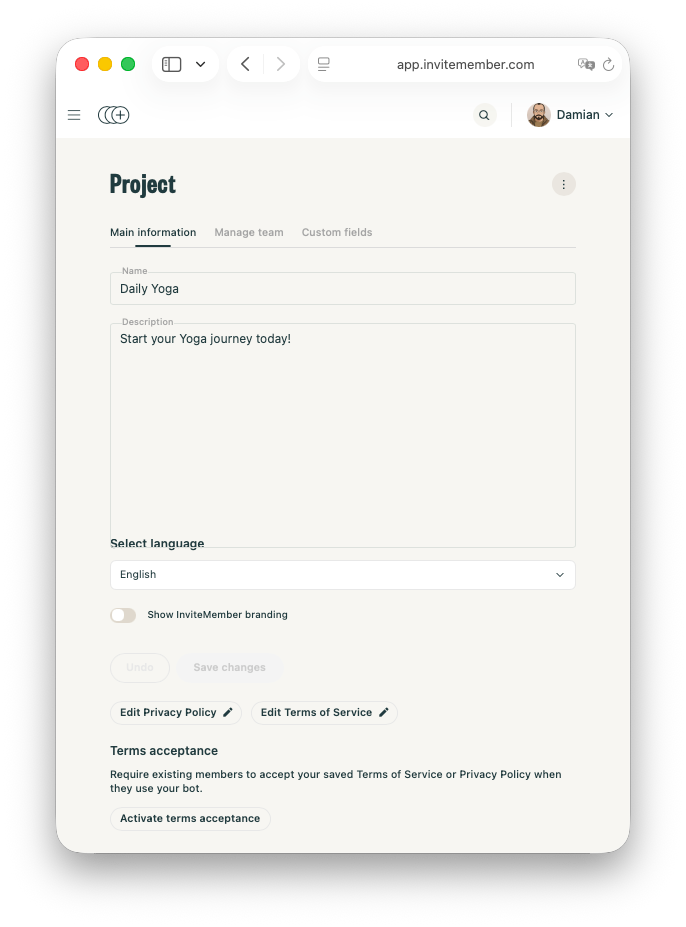
In the InviteMember project dashboard, open Settings > General. Set a clear project name and description. This description appears on the membership page while people view plans.
Use it to explain the offer: who it is for, what the subscription includes, and which channels, groups, or other resources a member receives after payment. Keep price and billing details in the relevant plan.
3. Give the member one first action after entry
Set the native Welcome Message to guide a customer after they enter a paid resource. Point to a pinned guide, the right Topic, or the way to get help. Do not repeat checkout instructions or share a regular invite link there.
Use the project's membership bot or im.page link when you promote paid access. The customer chooses a plan, completes the membership flow, and then uses the project's Join button. See the customer path for joining a paid Telegram channel or group.
Test the whole welcome path
- Open the membership bot with a second account and check the public description before pressing Start.
- Open the membership page and check the project name, description, and visible plans.
- Join the resource through the project's normal membership route.
- Check that the new account sees the native Welcome Message and that every link in it works.
- Check that the group or channel did not receive a copy for every existing member.
Repeat this check whenever you change a plan, a resource, or the Welcome Message. The first bot screen, membership page, and first chat message should match.
When a separate support bot helps
A native Welcome Message belongs to the group or channel. It does not create a separate support conversation.
If new members need a private route for account questions or help after they join, use a dedicated support workflow. Set up customer support on Telegram with a bot.
FAQ
Does a Telegram Welcome Message work in a channel?
Yes. Native Welcome Messages work in both groups and channels.
Will existing members see the Welcome Message?
No. The message is visible only to people who join after you set it up.
Do I need a bot to send a Welcome Message?
No. The native feature handles the greeting inside the group or channel. A membership bot can still introduce the paid offer before a person joins.
Is a Welcome Message the same as a pinned message?
No. A Welcome Message gives a new member the first direction. A pinned message stays available for members to return to.

